Have you ever wondered if you can import your own custom or legacy source code (*.c/*h files) into a Raptor build?
If you are current with Raptor, the answer is yes!
With Raptor 2018b, you can now include code from the “slprj” directory. When Simulink generates shared utility code, it is placed in that directory.
How to Import Custom Source Code
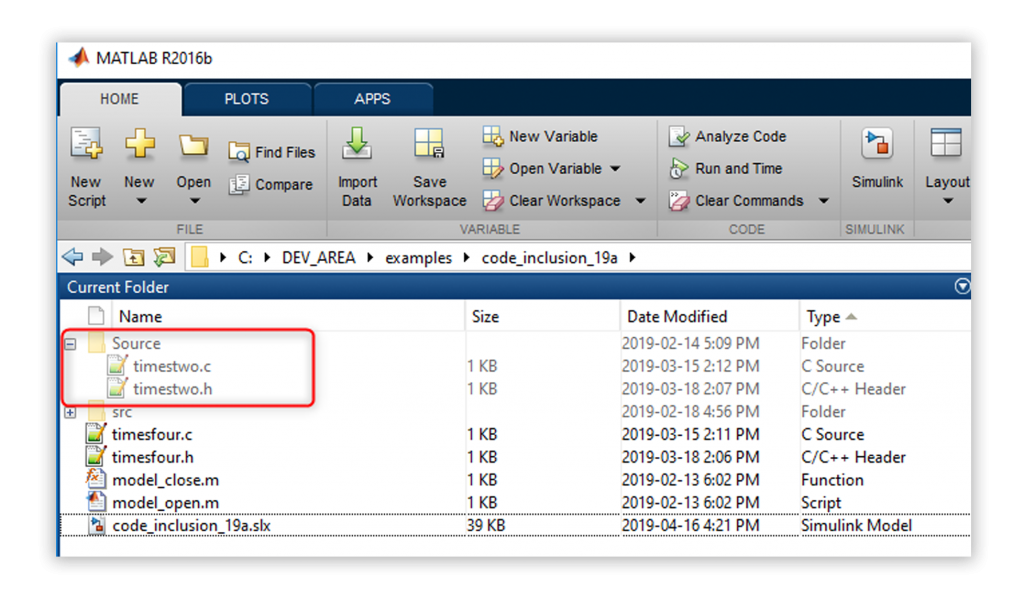
There are a couple different ways to import custom source code, but the easiest is by creating a directory named “Source” in the same directory as the model.
How to Call Custom Code
There are two key methods to call custom code while the Raptor ECU is running. The first is by using the Simulink Coder’s “Custom Code” blocks. The second is by writing an S-Function. Here is how to navigate both methods.
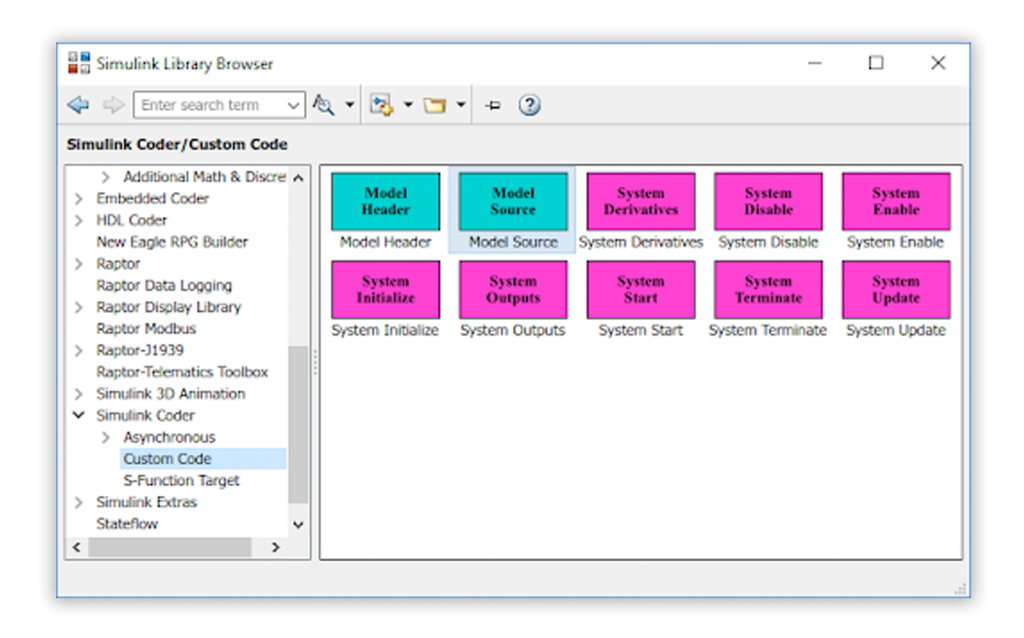
METHOD 1: Using Simulink Coder’s “Custom Code” Blocks
Begin by locating the “System Outputs” block. This will generate code specified in the block in the trigger where it is located.
While this will allow you to call custom code, it does not provide ports. If the function you’re using requires an input or provides outputs, try the next method–writing an S-Function.
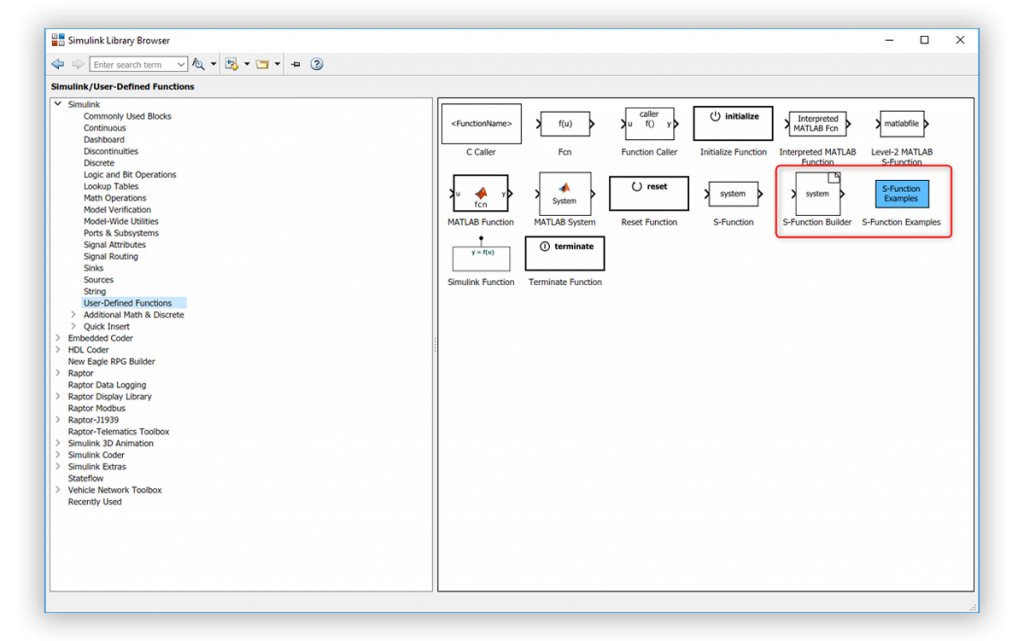
METHOD 2: Writing an S-Function
For functions involving ports, writing an S-Function is a great way to navigate calling custom code. You can learn how to do this by reading the documentation on MathWorks website.
Stay Current with Raptor
Raptor 2019a will improve integration with Simulink and its many methods for integrating custom code, including support for:
- Custom Code pane in the Configuration parameters
- MATLAB Functions
- Simulink Functions/Function Callers
To ensure you have access to the upcoming Raptor 2019a update, your software maintenance plan will need to be current. If it is not already, you can purchase maintenance or update your plan by contacting our team.
Want to be among the first to know about Raptor Releases?
Subscribe to Raptor News. You’ll get notifications about the latest updates, plus exclusive tips to help you get the most out of the Raptor platform.


