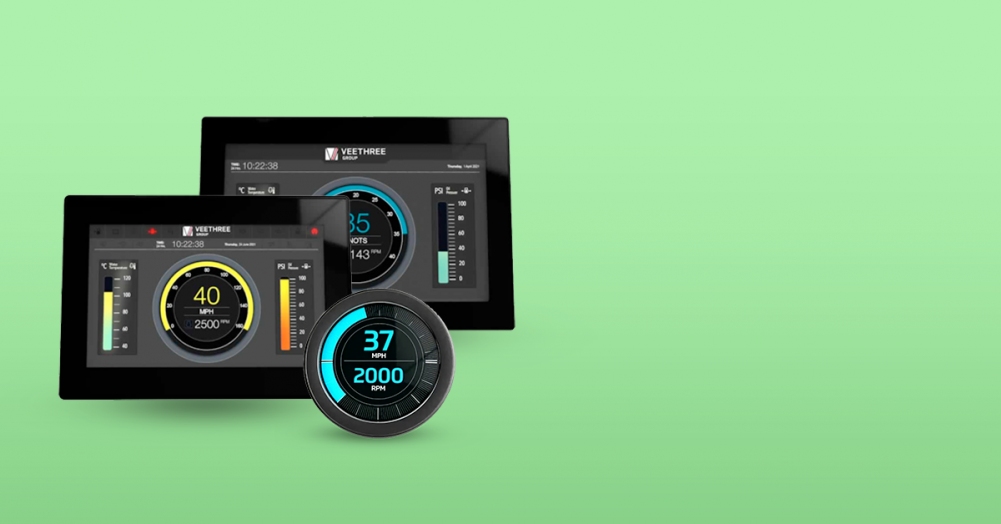
Like any other ECU, a VeeCAN has a number of built-in inputs and outputs. But one I/O combination is particularly important: the Human-Machine Interface (HMI).
The addition of a custom visual display transforms an otherwise standard Raptor controller into one that can communicate directly with a driver. And to make sure its HMI serves its purpose, the VeeCAN’s display needs to be programmed to be as user-friendly as possible.
While that task might seem daunting if you aren’t used to working with the VeeCAN, the typical development roadmap can be broken down into five fairly simple phases.
1. Gathering Requirements
This phase focuses on doing research to gain an understanding of what elements will go into your display.
You’ll need to decide what purpose the display will serve for the vehicle, which will dictate the types of commands you’ll need to program into the interface. You’ll also need to consider aesthetics, and factors that could impact those choices (such as branding).
This is also the phase where you’ll assess your design resources and plan your workflow.
2. Graphic Design
In this phase, your creative team will build the graphic elements for your display. This includes images, buttons, backgrounds, fonts, and any other visual art.
Making your images before you start development will ensure your programming stays on track. Omissions and oversight during this phase can cause bottlenecks later on.
You can outsource this if you need to – there are companies that specialize in this kind of design.
3. Development
At this point, you’ll begin building the code for your display within Raptor. The user-friendly nature of this software makes this step easier than you expect.
If you want to save time later on, it’s smart to generate several different builds using the PC simulator so you can test your display throughout the development process. The simulator lets you iterate your graphical placement and control logic—without the heavy time commitment associated with reprogramming hardware.
4. Testing
The development and testing processes are an iterative loop, so you’ll probably loop several times between steps 3 and 4.
Rarely will you get the exact result you want during your first test, and when that doesn’t happen, you’ll return to the development process to adjust your code. Raptor makes this process incredibly efficient.
5. Deployment
During this phase, you’ll wire the VeeCAN harness to your system. While power is the minimum requirement, the unit can handle CAN and physical I/O connections as well.
The rear of the VeeCAN has a mounting solution that makes it easy to install your display. It can be adapted to any dash, panel, or benchtop.
To make things even simpler, New Eagle has mounting kits available for VeeCANs.
Take it one step at a time
As you can see from the steps, VeeCAN programming is a straightforward process. In many cases, a single developer can use Raptor to efficiently design a full display that’s ready to go.
New Eagle is set to offer a new training course on using Raptor to program a VeeCAN. If you’re interested in taking this training, or enrolling someone on your team, contact sales and ask to be updated as slots become available.


